Professional Education Professional Education
奥林巴斯医疗官网 奥林巴斯医疗综合
了解奥林巴斯医疗产品相关的综合信息。
奥林巴斯智慧医疗手机版 奥林巴斯医疗产品及手技相关
了解奥林巴斯内镜产品、手技等方面的专业知识和临床信息。
添加到浏览记录

EBUS-Miniprobes : Equipment Preparation

Author: Ralf Eberhardt, MD, PhD, Thoraxklinik, University of Heidelberg, Germany Source: DVD-ROM ‘Endoscopic Ultrasound – Diagnostics and Staging of Lung Cancer’, Olympus Europa SE & Co. KG, 2013

Confirm the following parts are available • miniature balloon probe
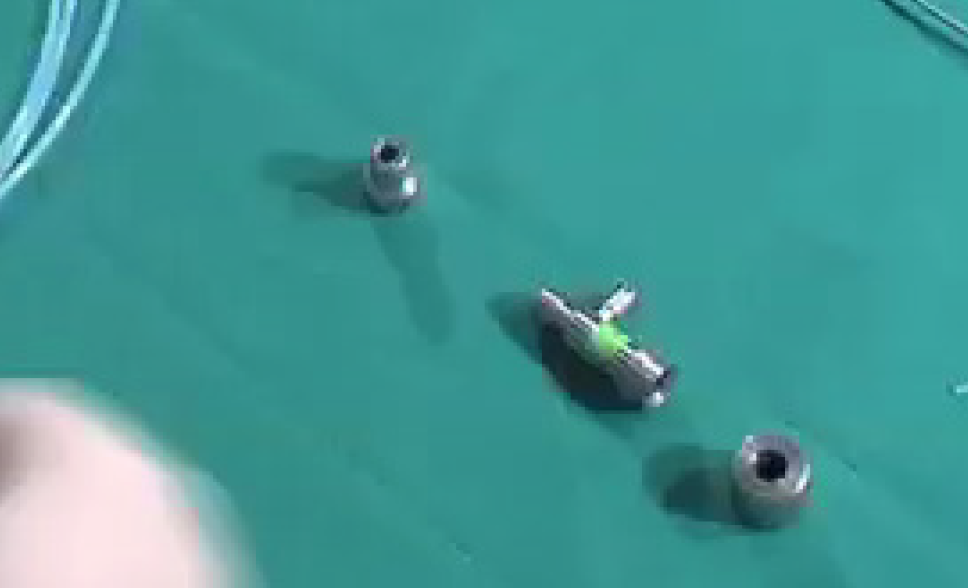
• balloon sheath connector
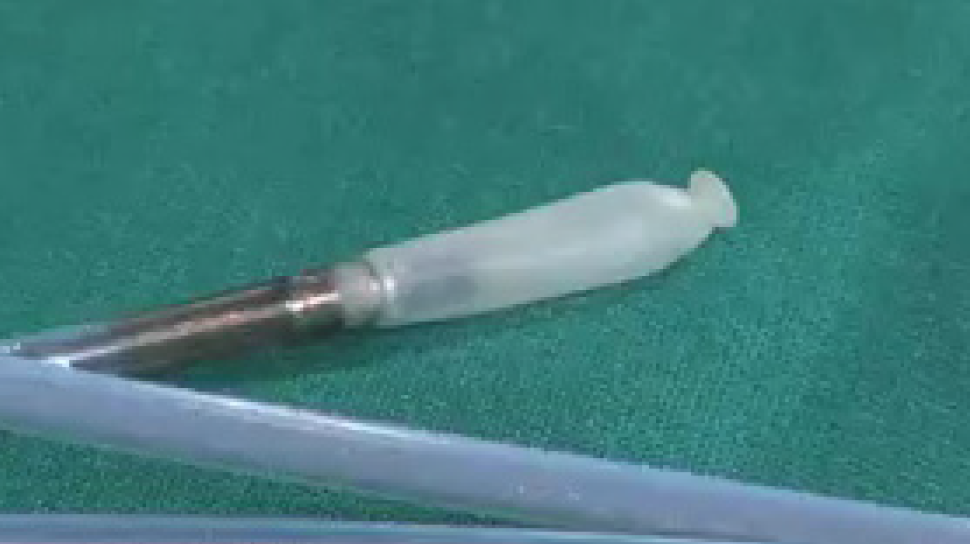
• water-resistant cap
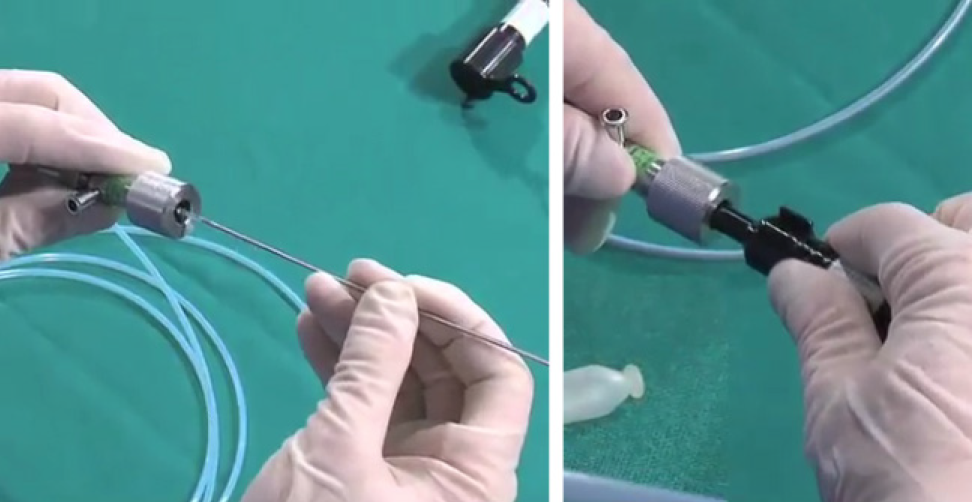
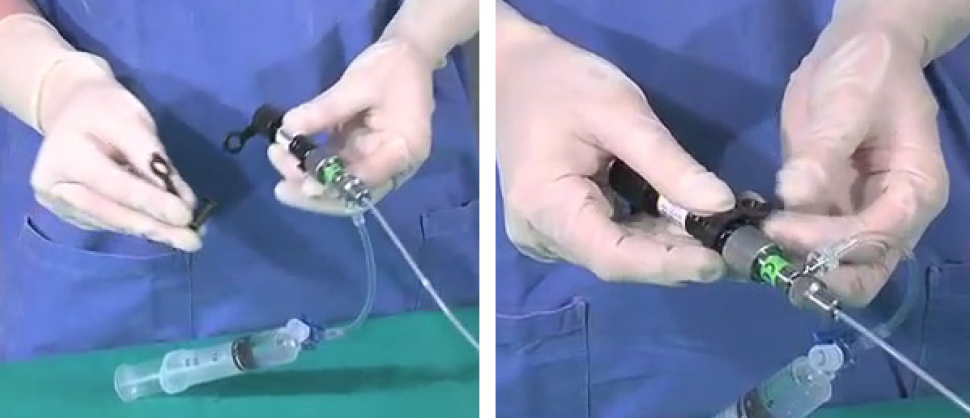
• probe holder
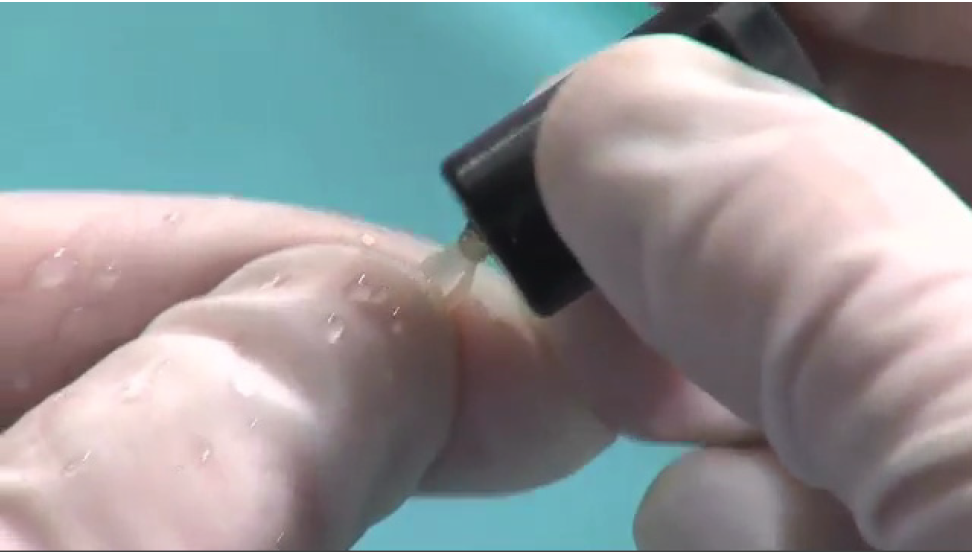
• balloon applicator
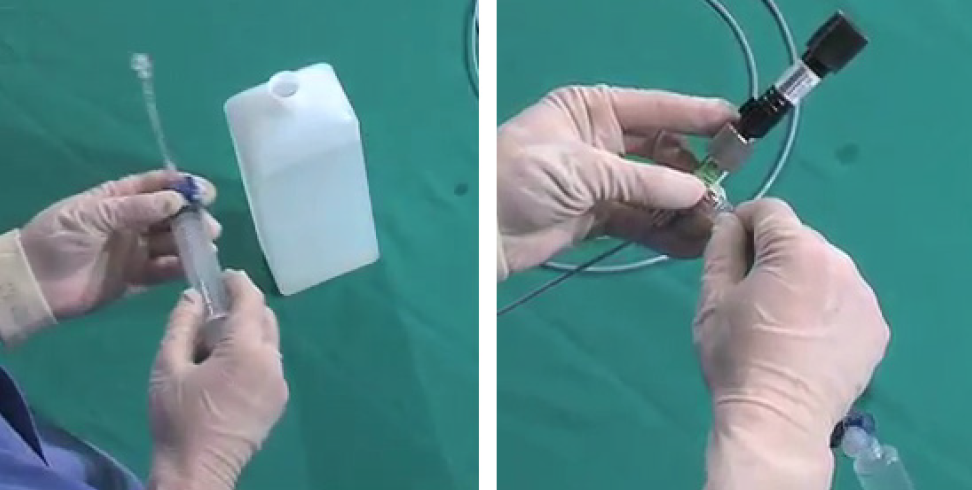
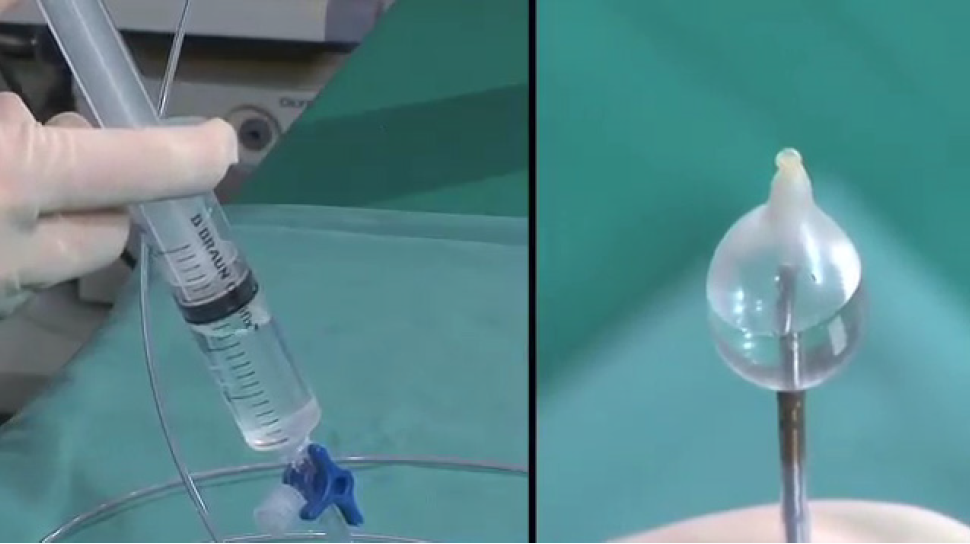
• balloon sheath
・syringe
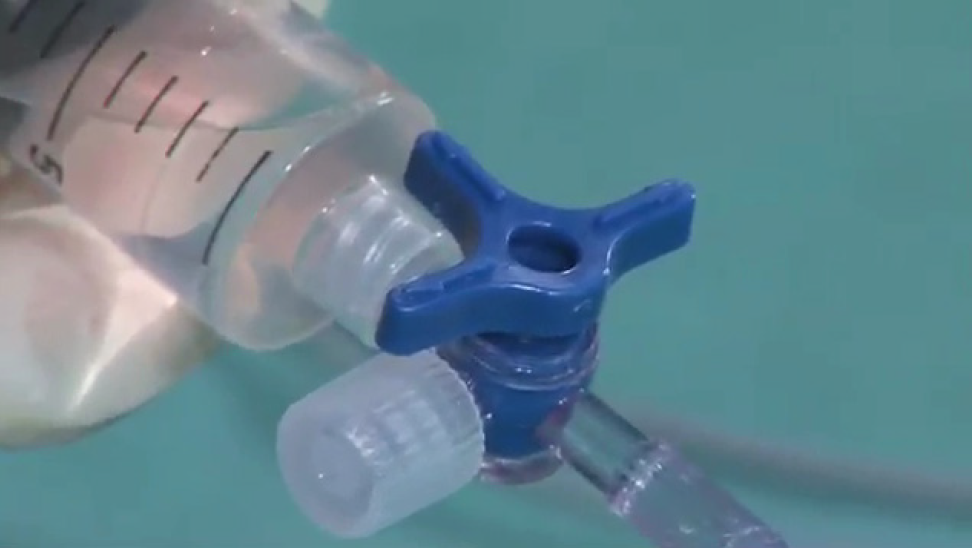
・extension tube with three way stopcock
・de-aerated water

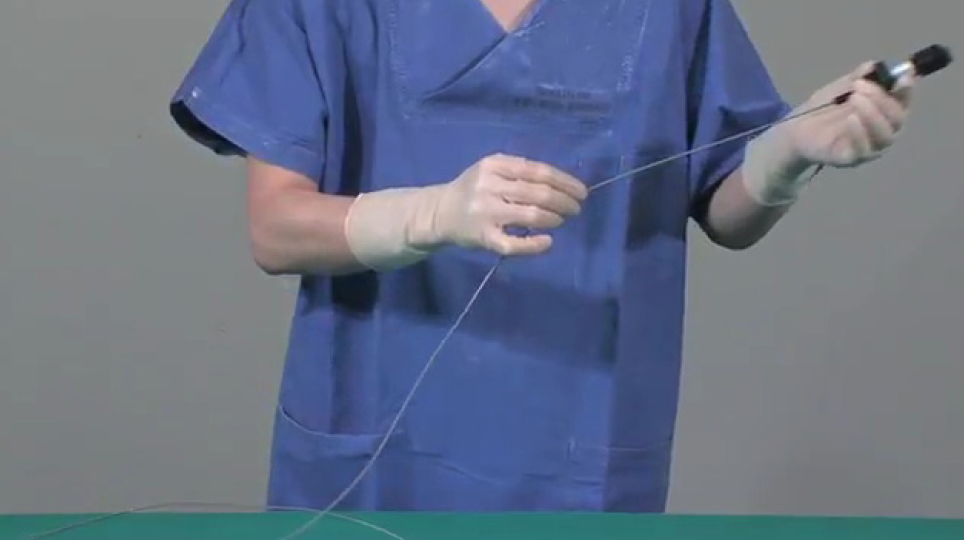
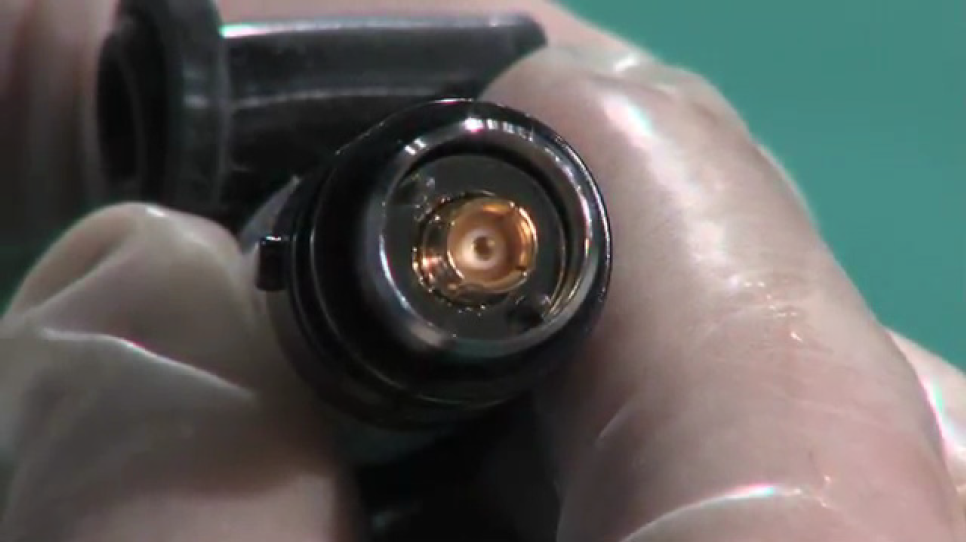
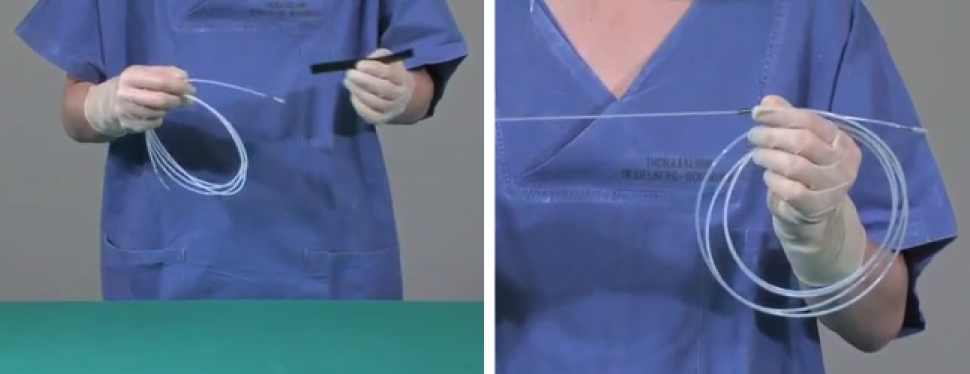
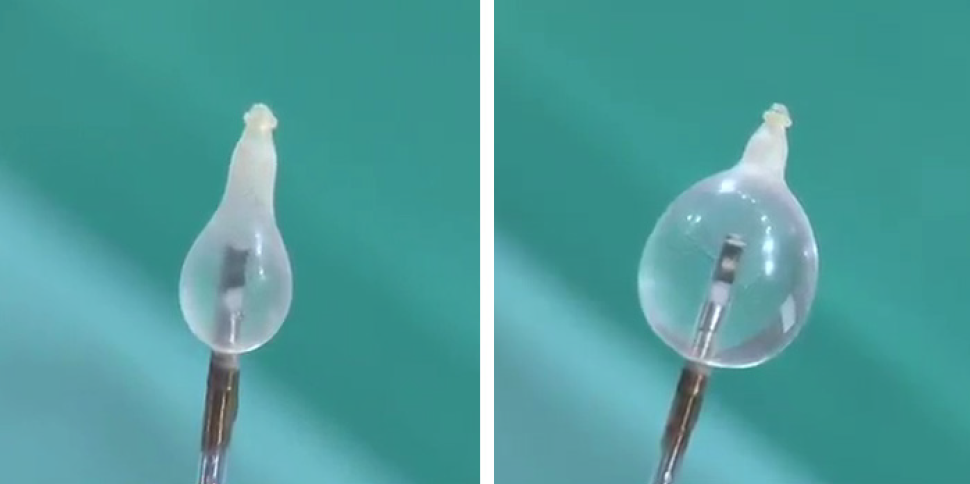
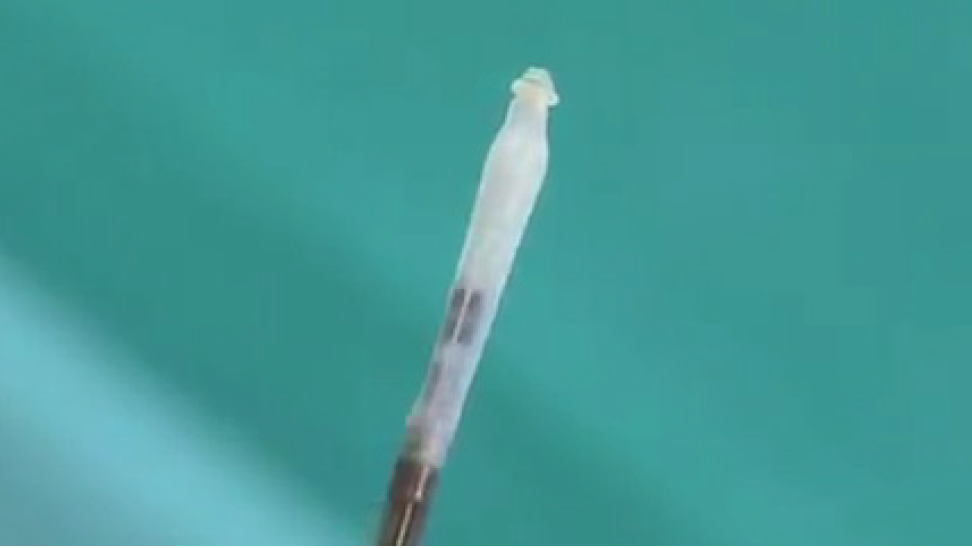
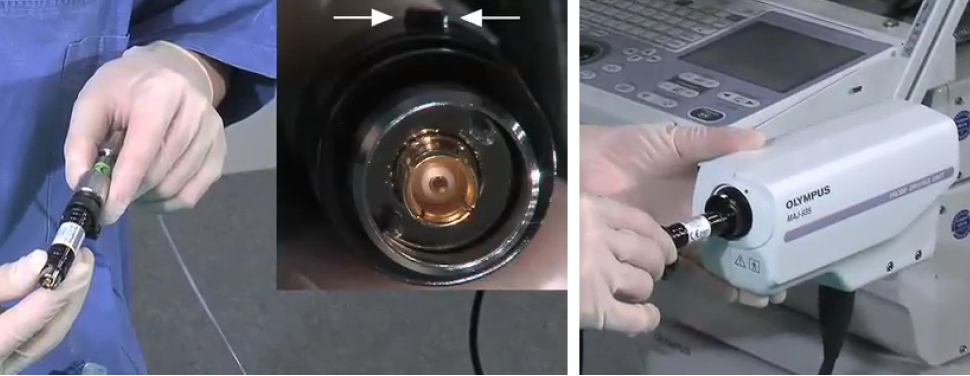
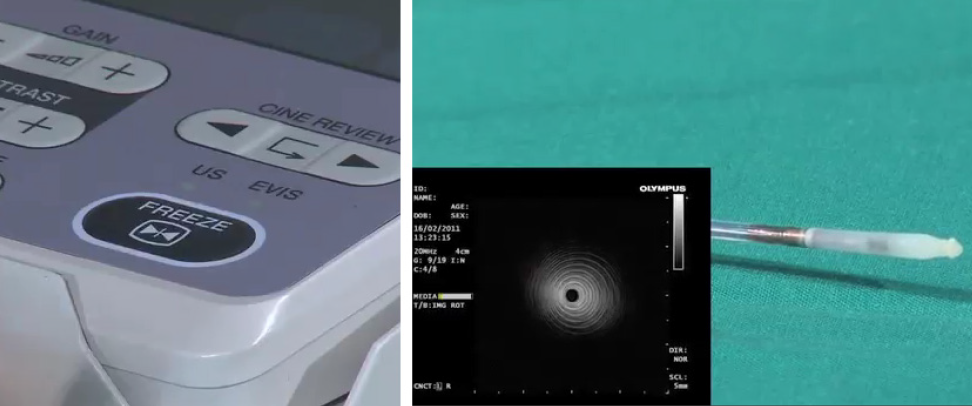
Inspection of the Ultrasound Probe:

Carefully run your fingertips over the entire length of the insertion section. Inspect for any protrusions, bends, leakage of ultrasound propagation fluid or other irregularities.
Carefully inspect the distal end of the transparent sheath of the probe’s insertion section to confirm that there are no air bubbles present around the ultrasound transducer. If air bubbles are present, remove the air bubbles according to the section ‘Tips & Tricks’ “Removal of Air Bubbles”.
Make sure that the connector pipe is dry and free of debris.

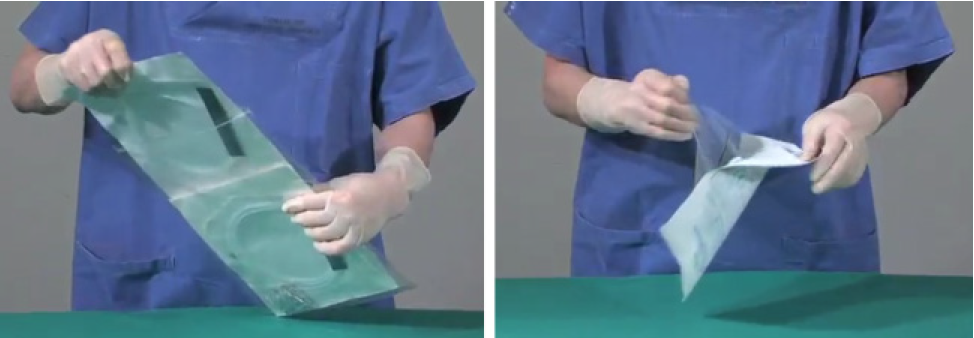
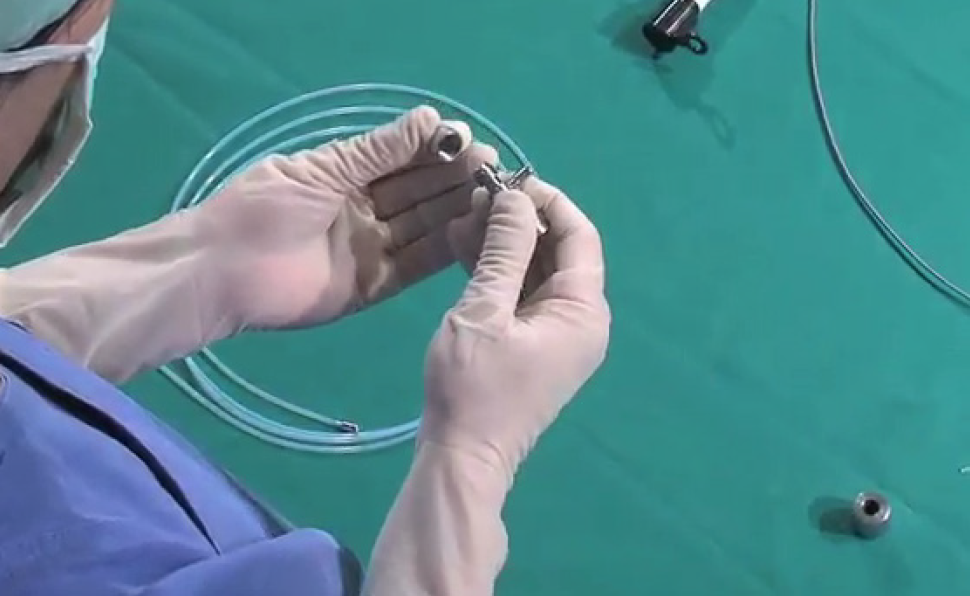
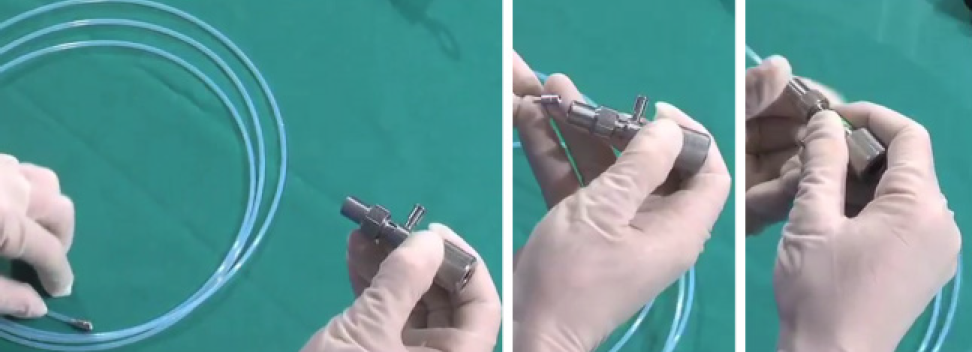
Inspection of the Balloon Sheath:

Open the balloon sheath package.
Take the balloon sheath from the sterile package and remove the light shielding cover and the sheath protecting rod.
Run your fingertips over the entire length of the balloon sheath to check there are no crushed areas, excessive bends or other damage.

Installation:

Take the balloon sheath connector components.
Assemble the sheath connector but do not fully tighten it.
Insert the balloon sheath adapter into the smaller sheath locking ring until the adapter contacts the connector body, then tighten the sheath locking ring by turning it clockwise.   Confirm that the balloon sheath is securely attached to the balloon sheath connector.
Insert the ultrasound probe into the larger probe locking ring until the transducer of the ultrasound probe enters the balloon.   Tighten the probe locking ring and confirm that the connector body is securely attached to the probe.
Confirm that the ultrasound transducer of the probe is positioned in the proximal side from the centre of the balloon. Otherwise, loosen the sheath locking ring or probe locking ring, and adjust the place of the ultrasound transducer to a proper position.
Unpack the syringe and the extension tube with three-way stopcock. Fill the syringe with 10 to 15 ml of sterile, de-aerated water. Connect the syringe with the extension tube and three-way stopcock to the irrigation port of the connector body.
Pull the syringe plunger to aspirate air from the balloon sheath.
Point the distal end of the balloon sheath upward. Keep the syringe pointed towards the floor and feed water into the balloon sheath.
Continue to feed water into the balloon sheath until all air bubbles have escaped, then pull the syringe plunger to deflate the balloon.
Hold the distal end of the balloon as close to the tip as possible. Press the tip towards the balloon applicator. Confirm that the balloon’s O-ring-section is attached to the groove on the distal tip.
Inflate the balloon by pushing the syringe plunger. Instill approx. 10 ml of water. Confirm that there is no water leakage from the balloon sheath and the balloon sheath connector section of ultrasound probe.
If water leaks, use a spare balloon sheath, inspecting it thoroughly before use.
Deflate the balloon by pulling the syringe plunger. Turn the three-way stopcock to stop feeding water.

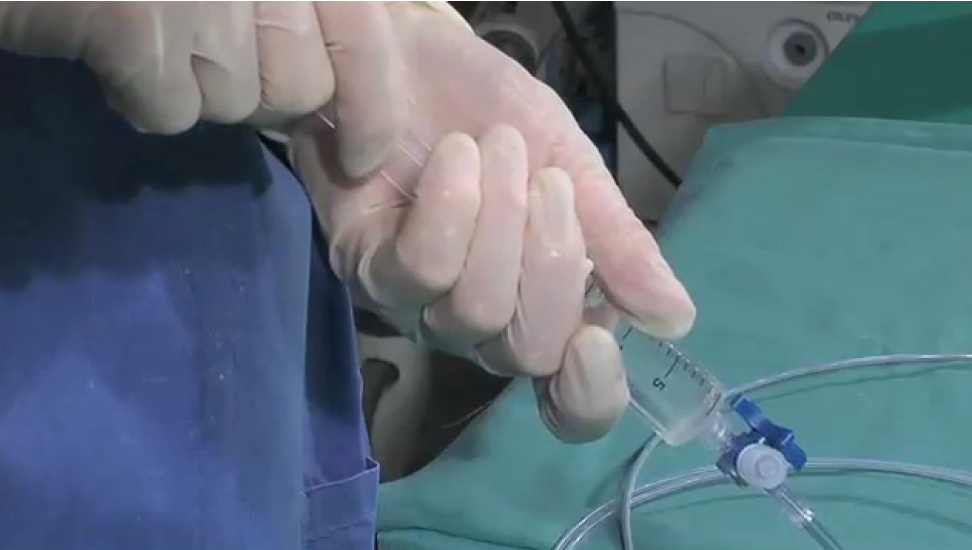
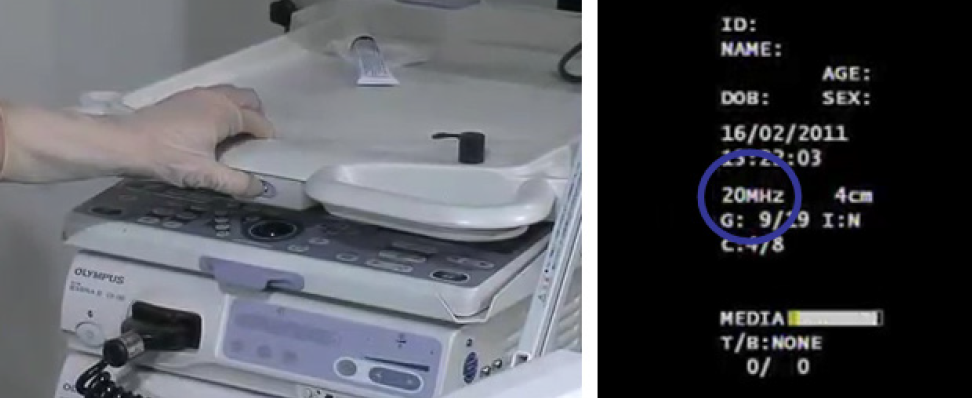
Inspection of the Endoscopic System:

Attach the probe holder to the ultrasound probe.
Remove the water-resistant cap.
With the probe’s contact pin facing up, insert the probe into the driving nit.
Pass the distal end of the ultrasound probe through the probe holder. Assure that the probe’s distal end is pointing downward.
Turn the endoscopic ultrasound centre on. Confirm that 20 MHz is displayed on the monitor.
Activate the miniature probe by pressing the ‘freeze’-switch. Confirm that the ultrasound transducer is rotating and that a multiple echo image appears on the monitor.
After inspection, press the ‘freeze’-switch to stop probe rotation.
分享至:
分享至: